Markers
The bookmarked places feature allows you to store places you want to visit or mark interesting points of interest (POIs) on the map and have them available whenever you need them.
Create a new marker
There are two options for adding a new marker to the map using Guru Maps:
- Tap and hold the map until the pop-up appears, then tap the marker icon (first in the row):

- Tap any object on the offline map, then tap the
 icon in the bottom menu:
If you have coordinates copied to your device's clipboard, the app will prompt you to create a marker on the map based on those coordinates. You can disable this feature in the app Settings > Privacy.
View marker details
To view the details of a marker in Guru Maps, you have a couple of options:
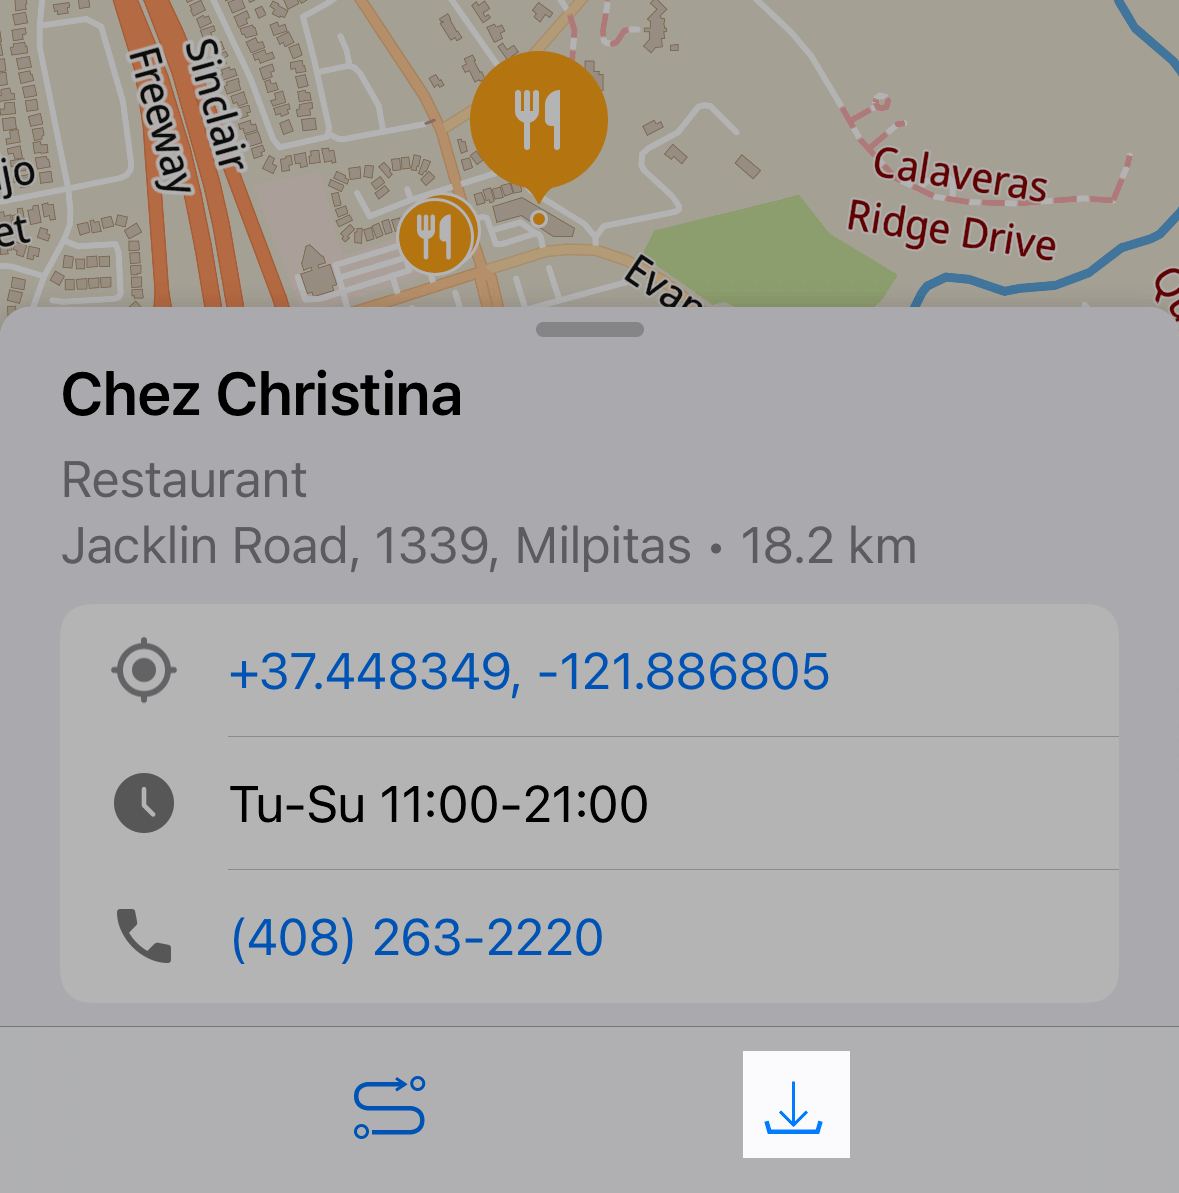
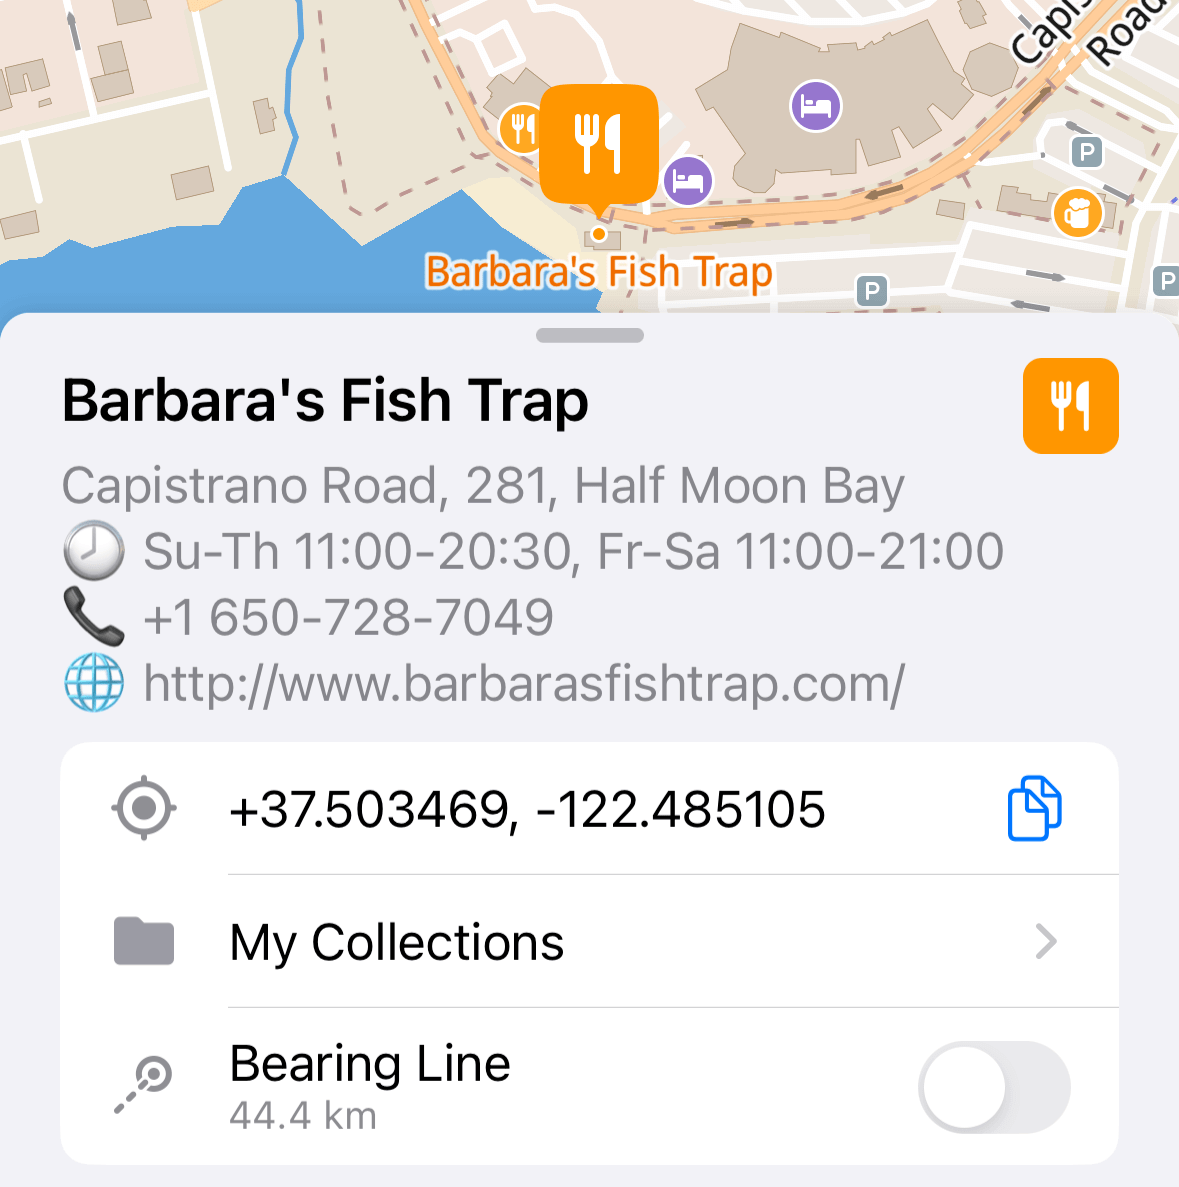
- On the map, tap the marker you want to view. This selects the marker. Drag the bottom drawer upward to its full height to access its details, including name, address, coordinates, and any additional information.
- Alternatively, open the marker details by finding it in the My Collections list and tapping it.
Change marker icon
To modify the marker icon, tap the current icon in the details panel. A selection menu with the available options appears:
Copy coordinates
To copy coordinates, tap the ![]() icon. A pop-up menu appears with options for copying the marker coordinates.
icon. A pop-up menu appears with options for copying the marker coordinates.
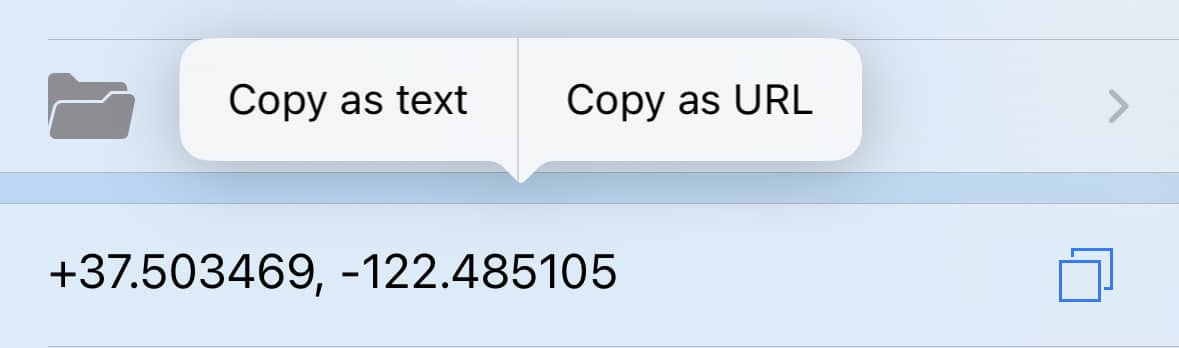
Choose the desired option:
- Copy as text: coordinates are copied to your device's clipboard in the format you see them, such as +9.570674, +100.060448.
- Copy as URL: coordinates are copied as a URL, which includes geolocation information such as latitude, longitude, and zoom level. The URL looks like guru://9.570674,100.060446.
This URL can be shared via email or SMS. When someone taps on this URL from their email or message on a device with Guru Maps installed, it will open the app and display the location on the map.
To edit coordinates, tap the coordinate cell for the marker you want to edit. This opens edit mode so you can modify the GPS coordinates.
Show the direction
To show the direction to a selected marker in Guru Maps:
- Open the marker details for the marker you want to use.
- Find the Bearing Line switch option and toggle it to the ON position. Once the "Bearing Line" switch is turned on, a line indicating the direction to the selected marker is displayed on the map.
Only one bearing line can be shown on the map at a time.
Other actions
Here are some additional actions you can take with markers in Guru Maps:

To view the marker on the map tap the ![]() icon. The map opens and centers on the selected marker so you can easily visualize its location.
icon. The map opens and centers on the selected marker so you can easily visualize its location.
To hide the marker from the map temporarily, scroll down the marker details screen and tap the ![]() icon. To reveal the marker again, tap the
icon. To reveal the marker again, tap the ![]() icon.
icon.
To create a route to the selected marker, tap the ![]() icon. This initiates the route creation process so you can plan your journey to the marker's location.
icon. This initiates the route creation process so you can plan your journey to the marker's location.
To export a marker, tap the ![]() icon at the bottom of the marker details screen and choose how to save your data.
icon at the bottom of the marker details screen and choose how to save your data.
The best way to export several markers at once is to save them in one collection and export the whole collection from My Collections screen.
To delete a marker, tap the ![]() icon at the bottom of the marker details screen. This action permanently removes the data and cannot be undone.
icon at the bottom of the marker details screen. This action permanently removes the data and cannot be undone.
Move the marker
To move a marker to a different location, follow these steps:
- Tap and hold the marker for a second. This activates the marker for movement.
- While still holding, drag the marker to the desired location on the map.
- Release your finger to drop the marker at the new position.
You have the option to deactivate the move marker gesture within the hidden Developer options.